In pet fashion, creating a unique style for your furry friend has never been more accessible or enjoyable. Tailoring a DIY dog bandana is not only a delightful way to bond with your pet but also a fantastic avenue to unleash your creativity. These handmade accessories are popular, allowing pet owners to express their dog’s personality while ensuring comfort and safety. With just a few materials and a sprinkle of imagination, you can craft a stylish bandana that is both high-quality and distinctive. This article will guide you through the simple steps to make a charming DIY dog bandana, from selecting the perfect fabric to adding the final embellishments.
Contents
Choosing the Right Fabric
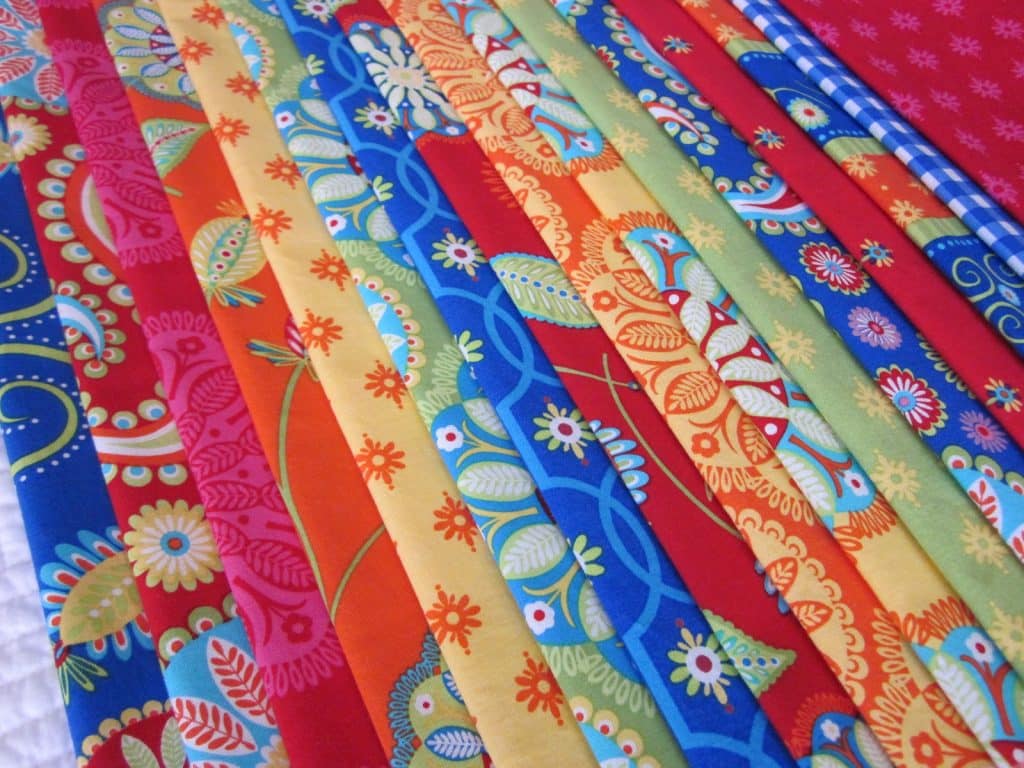
When embarking on the creation of a DIY dog bandana, the selection of fabric is a crucial first step. The ideal material should be gentle on your dog’s skin yet durable enough to withstand their playful antics. Cotton is often the go-to choice for its breathability and soft texture, making it comfortable for dogs to wear throughout the day. Alternatively, polyester can offer more vibrant colors and patterns, although it may not have the same comfort level as cotton. Blended fabrics can balance the two, offering comfort and a wide range of designs to fit any pooch’s personality.
While aesthetics are important, safety must never be compromised. It’s vital to opt for non-toxic materials that are safe for pets, even if they chew on their new accessory. The chosen fabric should also be easily washable, maintaining hygiene and ensuring the bandana remains pristine. Selecting the right colors and patterns can be a fun process; you might even match the bandana with the season, your outfit, or a special occasion. Whether it’s a classic plaid, a vibrant floral, or a festive holiday theme, your chosen pattern will set your dog apart in the canine fashion world.
Tools and Materials Needed
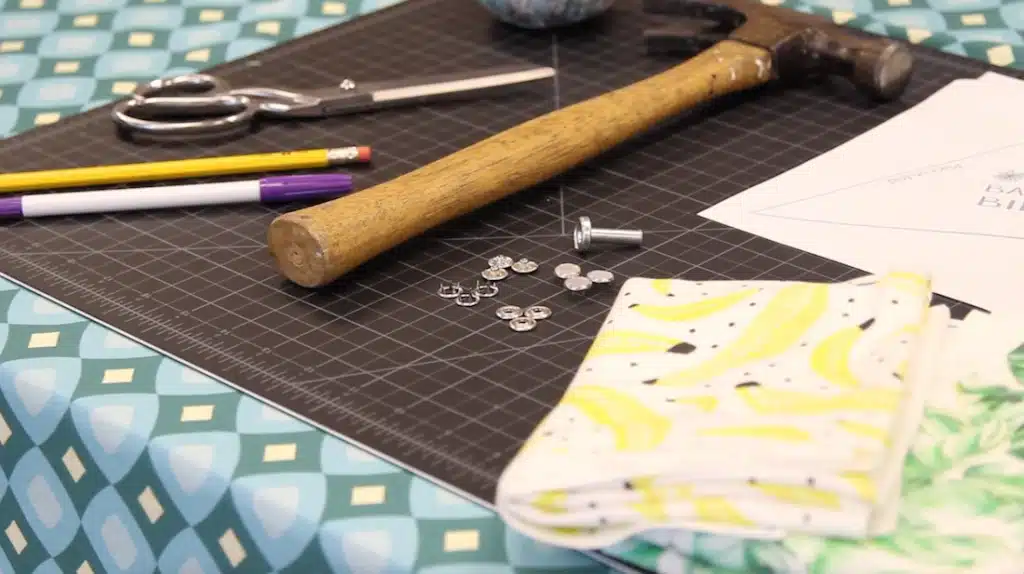
Before diving into the crafting process, it’s important to gather all the necessary tools and materials. Creating a DIY dog bandana requires more than just fabric and good intentions. You’ll need a sharp pair of scissors for precise cuts, a measuring tape to ensure the perfect fit, and sewing materials if you want to stitch your creation. These tools are the backbone of your project, and having quality equipment at hand can be the difference between a project that’s a pleasure and a chore.
For those looking to add a professional touch, consider optional accessories such as a sewing machine, which can speed up the process and provide stronger seams. If sewing isn’t within your skill set, fabric glue or fusible bonding tape can be great alternatives. Embellishments like buttons, beads, or iron-on patches can also add a unique flair to your bandana. Remember, each additional material brings an opportunity to further personalize the bandana, making it a true reflection of your dog’s character and your craftsmanship.
Measuring Your Dog

Accuracy in measuring is paramount when creating a comfortable and well-fitting dog bandana. Start by measuring the length around your dog’s neck where the collar typically sits. Add a few inches to this measurement for tying or fastening the bandana. It’s essential to strike a balance; the bandana should be snug enough so that it won’t slip off during your dog’s activities yet loose enough to be comfortable and safe.
In addition to the neck circumference, consider the bandana length hanging in front. It shouldn’t be too long to avoid becoming a tripping hazard or getting caught during your dog’s exploration. If you’re designing for a growing puppy or a dog between sizes, an adjustable bandana with snap buttons or ties might be a great solution. Always prioritize your dog’s comfort and safety in every measurement and adjustment, ensuring that the final product will be as enjoyable for them to wear as it is for you to make.
Cutting the Fabric
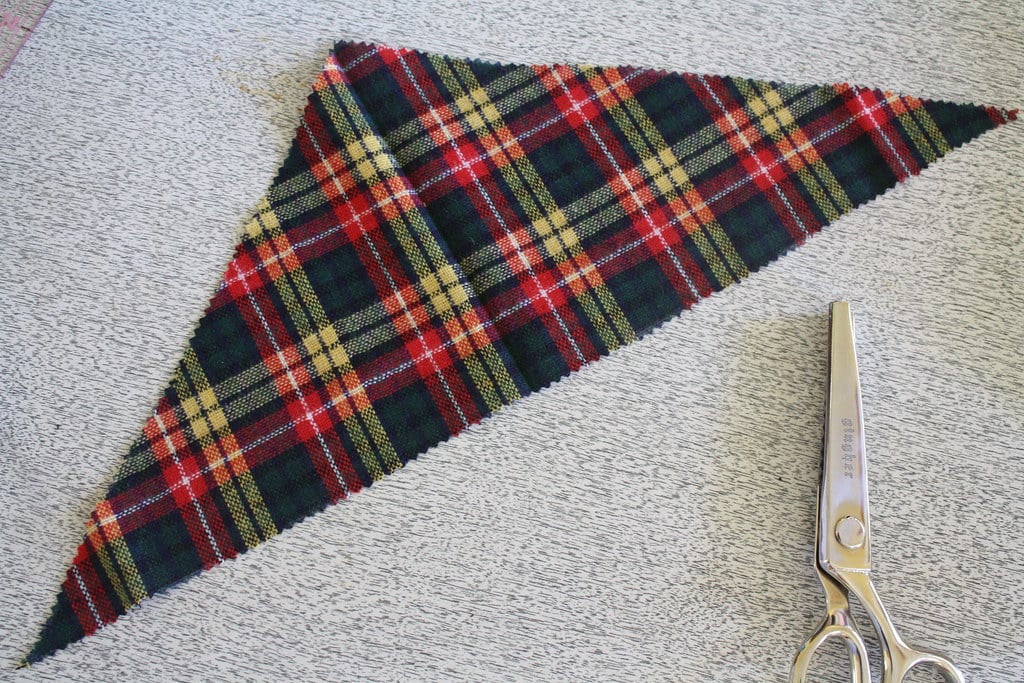
The cutting stage is where your bandana begins to take shape. Lay your fabric flat and transfer your measurements onto it, visualizing the size and design of the finished bandana. For a crisp, clean cut, ensure your scissors are sharp, and your cuts are confident. Cutting the fabric correctly sets the stage for a professional-looking end product, so take your time with this step.
Hemming the edges is an important consideration, especially if you’re working with a fabric that frays. A simple fold and iron, followed by a stitch or fabric glue application, can give your bandana a polished look and increase longevity. This step can also be a creative decision – fringed edges can add a playful touch, while a rolled hem might offer a more refined finish. Your chosen finishing method will not only add to the visual appeal but will also ensure that your dog can wear their bandana time and time again.
Customizing the Design
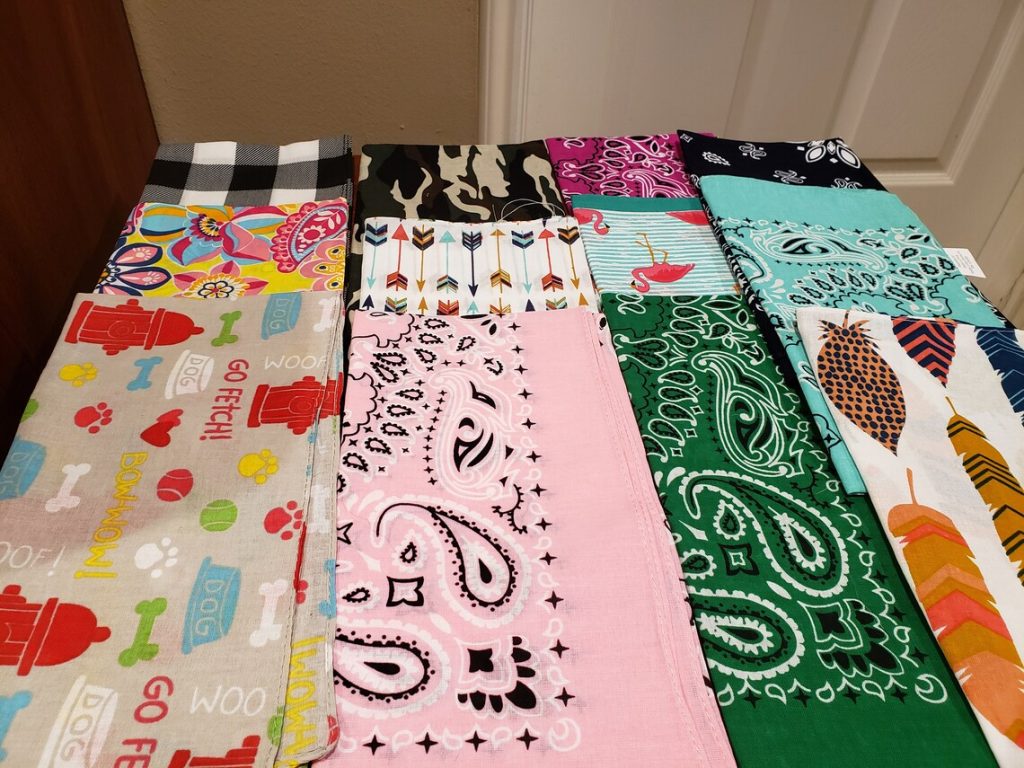
The customization phase is where personality shines through. This is an opportunity to consider personal touches that transform the bandana from a simple accessory to a statement piece. Whether it’s embroidering the dog’s name, applying heat-press designs, or sewing on playful patches, these details create a one-of-a-kind look. For those who relish seasonal festivities, designing bandanas for events like Christmas, Halloween, or the 4th of July can be a charming way to include your pet in the celebrations.
Reversible bandanas are an excellent choice for those who crave variety. By choosing coordinating fabrics, you can craft a bandana that offers two looks in one. This not only makes for an adaptable accessory to match different moods and occasions but also provides an economical and space-saving solution for your pet’s wardrobe. Customization is not just about aesthetics; it’s about making an accessory that reflects the unique bond between you and your pet. So, let creativity lead the way and make something that both of you will love.
Assembling the Bandana
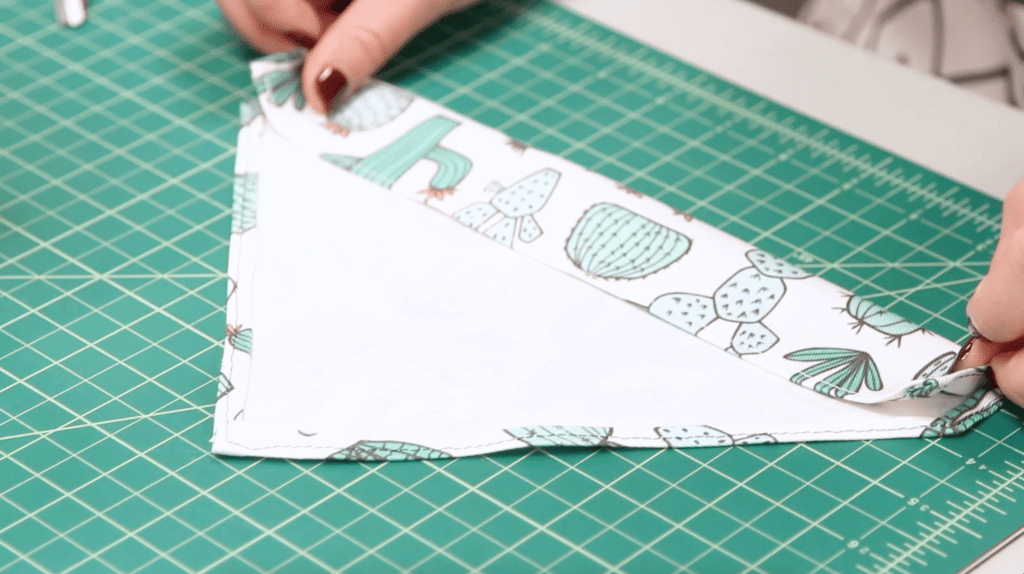
Assembling the bandana might seem daunting, but with a step-by-step approach, it’s quite straightforward. If sewing, you’ll start by placing the right sides of the fabric together, stitching along the edges while leaving a gap for turning it right side out. After pressing the bandana to remove wrinkles, carefully stitch the opening closed for a seamless finish. For those who prefer a no-sew approach, folding the edges over with fabric glue and pressing firmly will create a clean line without the need for thread.
Durability is key, especially for active dogs who love to run, roll, and explore. Reinforcing the bandana’s edges with double stitching or fabric adhesive can prevent wear and tear. Consider the areas that will undergo the most strain, such as corners and ties, and fortify them. A well-assembled bandana not only looks great but also stands up to the excitement of doggy adventures, ensuring that your canine companion can strut their stuff reliably and safely.
Attaching a Fastener
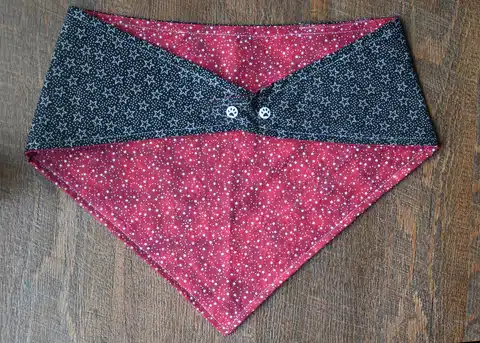
Fasteners add functionality to your dog’s bandana, making it easy to put on and take off. Various choices are available – snap fasteners provide a secure closure, while Velcro allows for adjustability. Buttons add a classic touch, though they may require more skill to fasten. When choosing the type of fastener, consider your dog’s behavior and needs. Active dogs might benefit from the security of snaps, whereas older or less active pets may be fine with buttons or Velcro.
Safety is the utmost priority when attaching fasteners. They should be secured firmly to the fabric to avoid becoming a choking hazard. For dogs that chew, alternatives such as fabric ties or elastic bands can offer a safer option. Whichever fastener you choose, ensure it can withstand the rigors of use and doesn’t irritate your dog’s skin or fur. This stage is crucial in combining the practicality of easy dressing with the peace of mind of knowing your pet is safe.
Final Touches and Care Instructions
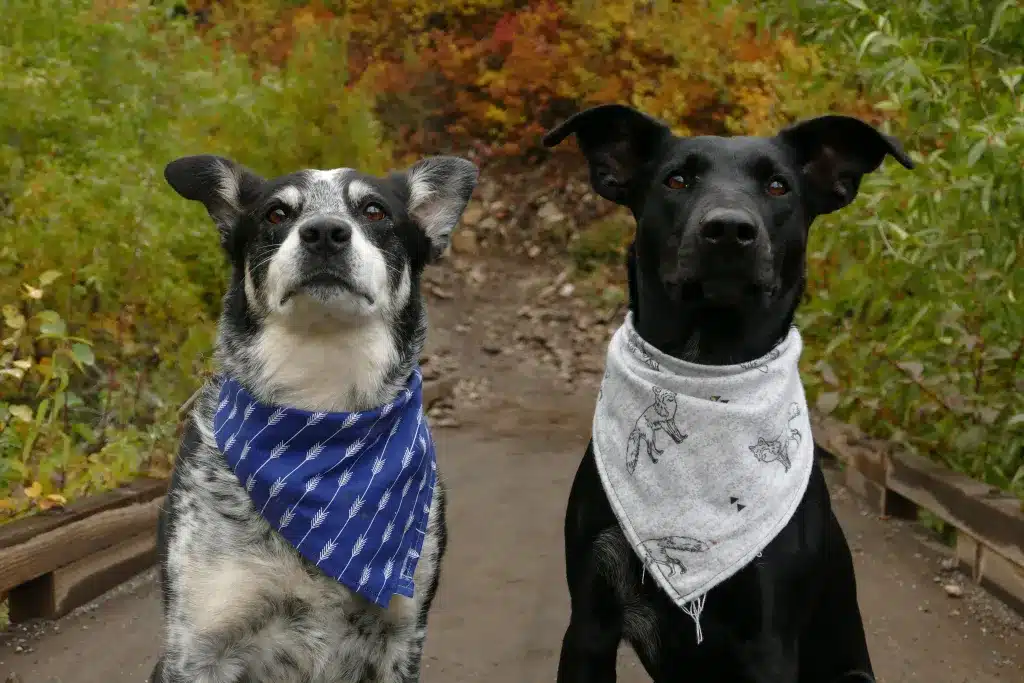
Once the bandana is assembled and the fastener is attached, it’s time for the final touches. Ironing the bandana can give it a professional, crisp appearance, ensuring it looks perfect for its debut. Conduct a final inspection to check for loose threads or uneven seams that might need attention. This not only improves the look of the bandana but also ensures it’s safe for your pet to wear.
Maintaining the bandana is just as important as making it. Clear care instructions, such as washing guidelines, can help pet owners keep the bandana clean and vibrant for years. Recommend washing the bandana by hand or on a delicate cycle to preserve the fabric and customizations. Storing the bandana flat or on a hanger can prevent wrinkles, keeping it ready for your dog’s next outing. With proper care, the bandana will remain a cherished accessory in your pet’s collection.
The Bottom Line
Creating a DIY dog bandana is a delightful project that merges craftiness with functionality, resulting in a fashionable and personal accessory for your canine companion. From selecting the right fabric to applying the final touches, each step expresses love and care towards your pet. The process not only leaves you with a handmade creation but also with the skills to explore even more DIY endeavors. Encourage readers to embrace the DIY spirit and share their bespoke bandanas, celebrating their furry friends’ new looks and the joy of making something special.
